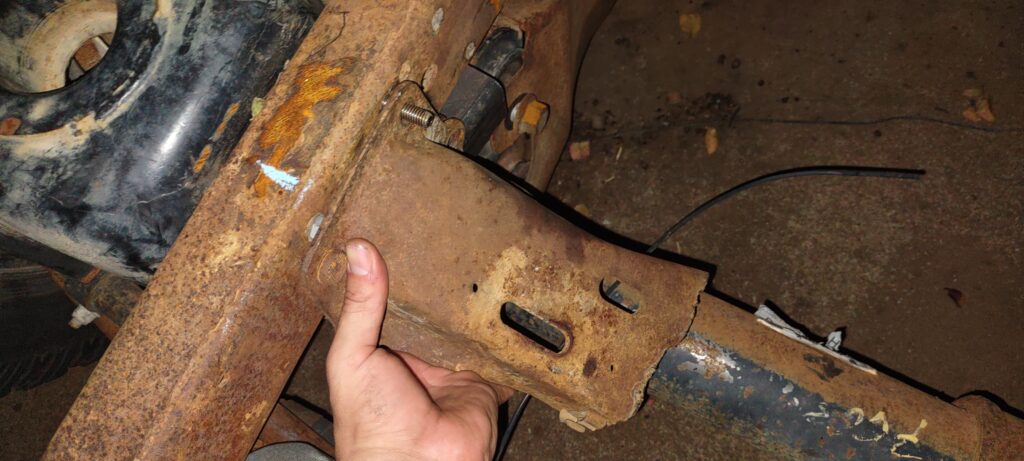
Good news and bad news until I am otherwise corrected. The good news is that after a few more test fitments I managed to get the engine mounts located right where I want them to be. I had actually gone back to reviewing the original motor mounts as they had a 45° angle to them for 1st Gen Dodge motor mounts and they were originally bolted and welded on using the shock tower bolts which I had referenced in my front suspension post. I did not want to weld my coil spring buckets to the frame so I need a solution that will work with the through bolts. The original mounts also sat much too high by my estimation and it would be impossible to use the rubber mounts.
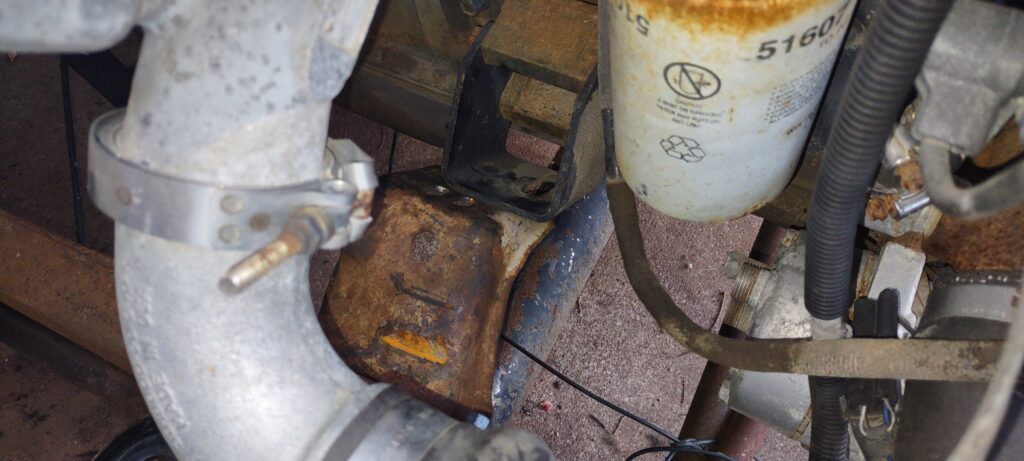
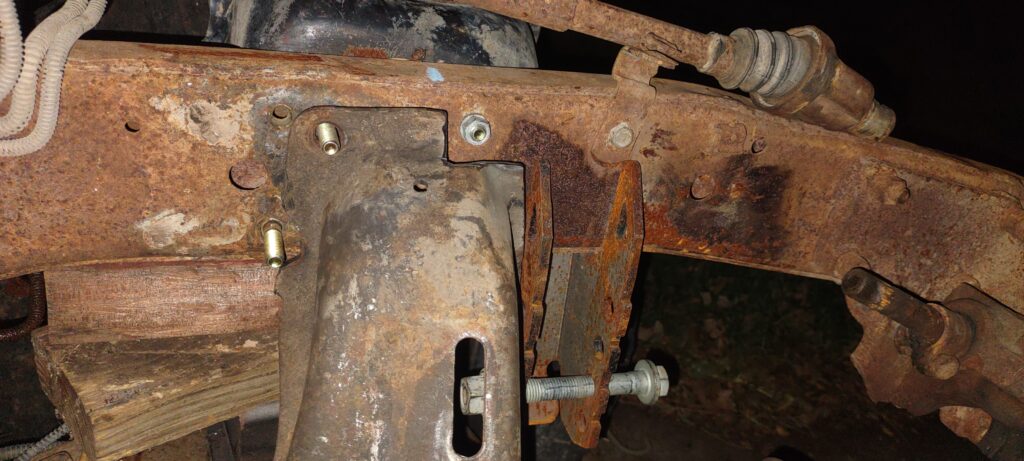
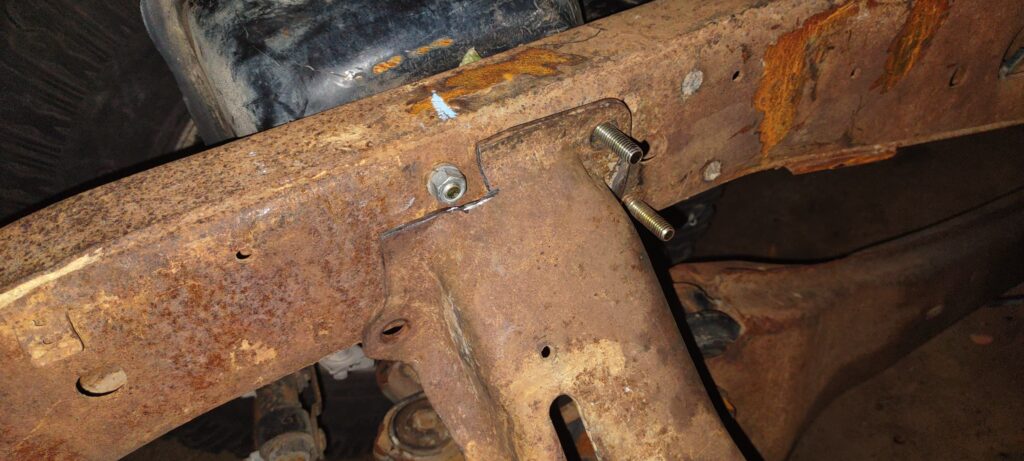
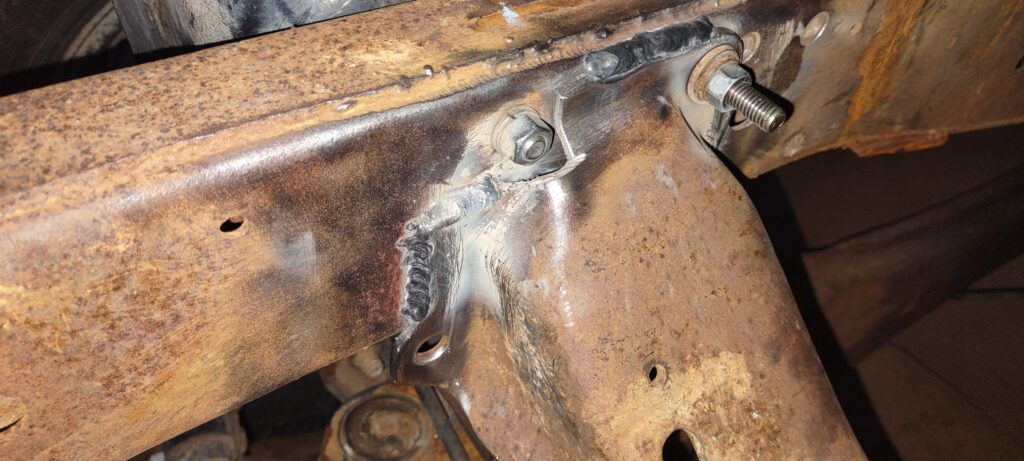
I eyeballed where my motor mount brackets sat while the engine was as far back as possible. After speaking with someone who has already done this before, I learned I need to be maybe 1/2″ – 3/4″ from the firewall. Taking the cut off crossmember ends I was using before, I tried to use an existing hole in the crossmember to align with one of my bolts from the coil bucket. The crossmember is like a C channel, so if I were lucky, I could tuck the other 3 bolts out of the way or trim the crossmember flange slightly for those bolts that interfered. Surprisingly, everything worked out perfectly. I utilized one bolt which is nice so my crossmember ends could be referenced exactly the same left to right, and it required minimal trimming of the flange. The chalk mark is where I needed the slot to be to locate the motor correctly. My only worry now is the track bar mount which I can move forward probably, or outboard it. Right now I intend on using the second hole where the bolt currently is, so it shouldn’t interfere unless I go higher up. Keeping things positive, I am very pleased with finding a way to attach these crossmember ends while still maintaining my coil bucket bolts.
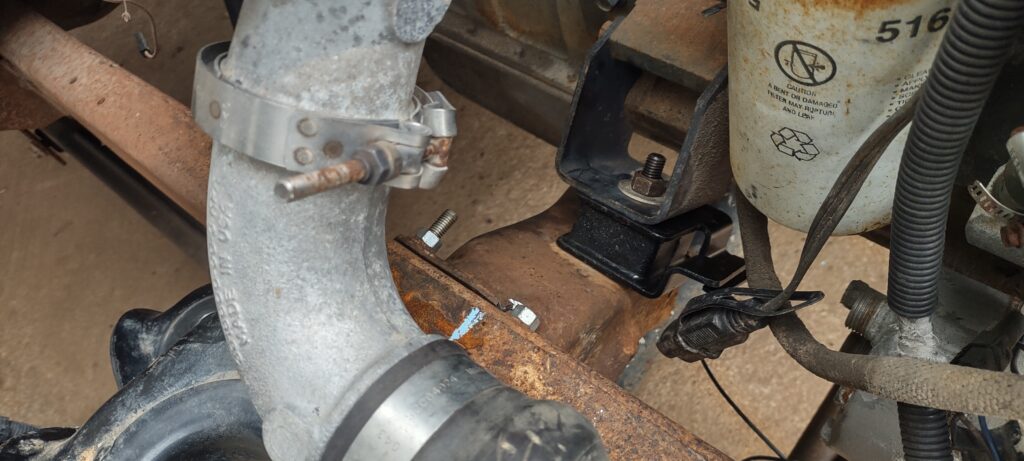
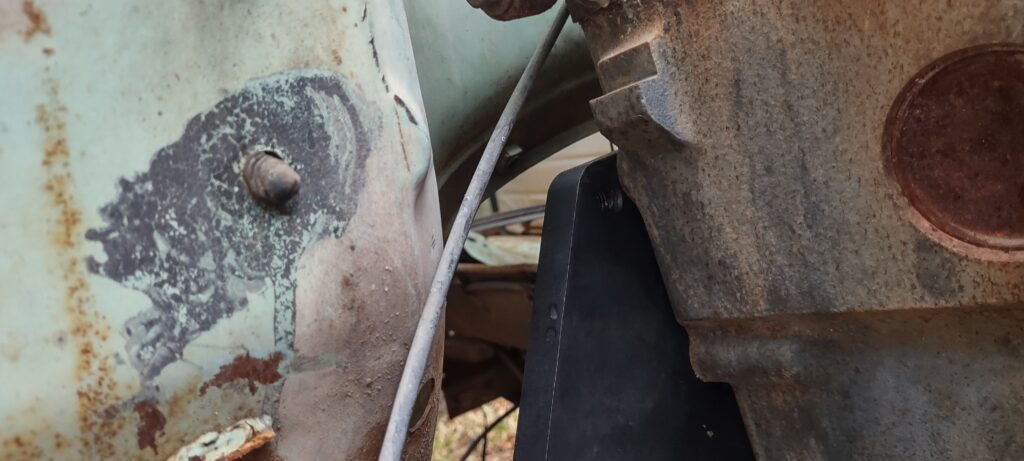
One last test fitment and everything looks great. My only qualm is how close the exhaust manifold bolt is to the firewall. Being a bolt I think I would be able to unscrew it and take it off with the manifold but that would also mean I am using a wrench instead of a socket to loosen those last two. Not great. It’s relevant because with the current manifold the turbo will hit the heater core but I have seen others use a manifold that angles the turbo downward to tuck it in. I plan on using that type of manifold so I need to know if the engine is going to come back out anyway. It may turn into good practice to note for the future, and a large hammer. It also looks like the adapter is going to sit low enough to access from the tunnel as well. More on that adapter later…
Now for the adapter… This thing has been relatively problem free. The worst I had were some unthreaded holes being slightly off, and by slightly, I mean I could barely catch a thread on a bolt that went through some of the holes. It only required me to go the next size up drill. I wouldn’t even consider that an issue but some may given the price tag. This is a more affordable adapter compared to the $1000+ adapters that are out there. I have since run into additional problems and at the worst possible time. I have big goals to get the engine test started on the ground and then installed, with transmission, into its final resting place in the truck. I have found one more hole that is misaligned, this time it’s threaded so I can’t drill it out, but I could slightly drill the bellhousing of the transmission… Not a huge deal. I would just strongly prefer to not require all these little details because one day I will need to replace parts and the more customization required the worse that day will be. That is a big reason for this website, so I can remember.
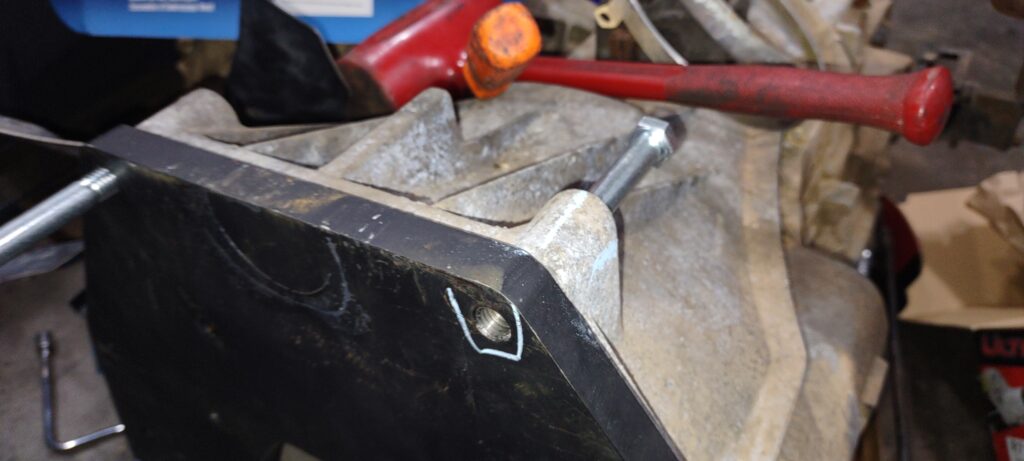
I wound up taking the flywheel and adapter back off because I had forgotten that I will need to trim the engine casting to make room for the starter. The starter is sourced from a 6.7L Ford Powerstroke (should be 2011 and up?). This is the first step in a more permanent direction, when you start to consider the cost of cores (engines, starters, transmissions) and cutting things off… Not a huge fan but cutting part of the casting in a place that isn’t structural doesn’t break my heart. It’s more of an omen as I come to find out.
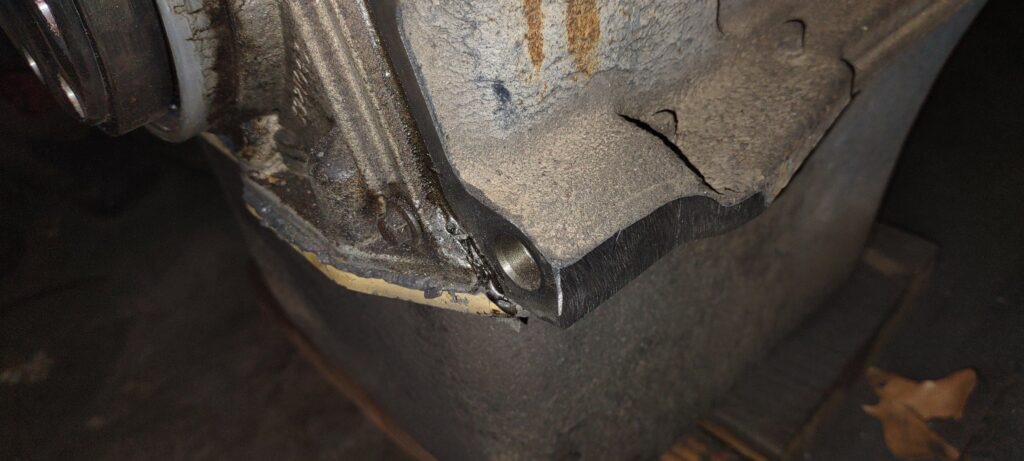
Now, the adapter manufacturers website says the starter will need to be trimmed. I won’t link the website right now since I am trying to get in contact with them to remedy my issues. Just know that is yet another permanent step towards making this work. I knew this going in and accept it. However, it is interesting to note that there are two versions of the ZF6 transmission that Ford uses. One for the 7.3 Powerstroke and another for the 6.0 (and others). The 7.3 requires these steps, plus a flywheel spacer, which I bought a long time ago and likely cannot return. In my head I am imagining pushing the flywheel outward by however much while the starter mounts flush against the adapter (I’m now foreshadowing). The 6.0 adapter doesn’t require a flywheel spacer but does come with a starter spacer to push it off the adapter and then, funny enough, you don’t have to cut the block or the starter. I’m not the person making these so I don’t have the dimensions but at face value I find this slightly ironic. Maybe the difference is in adapter thickness.
With that out of my system, here are my other problems:
- The 6.7 Powerstroke start has 2 large holes, and 1 smaller threaded hole. I ran a tap through this and it measures M8 x 1.25
- The 3 supplied bolts from the adapter manufacturer are not M8 x 1.25. I don’t know what they are yet but they do thread into the adapter nicely, so that was intentional
- It is evident that they clamp the starter to the adapter, coming in from the starter side, since those holes are inaccessible from the transmission side when the transmission is installed. Aside from the wrong thread, you can’t get the bolt into the hole because it is too long
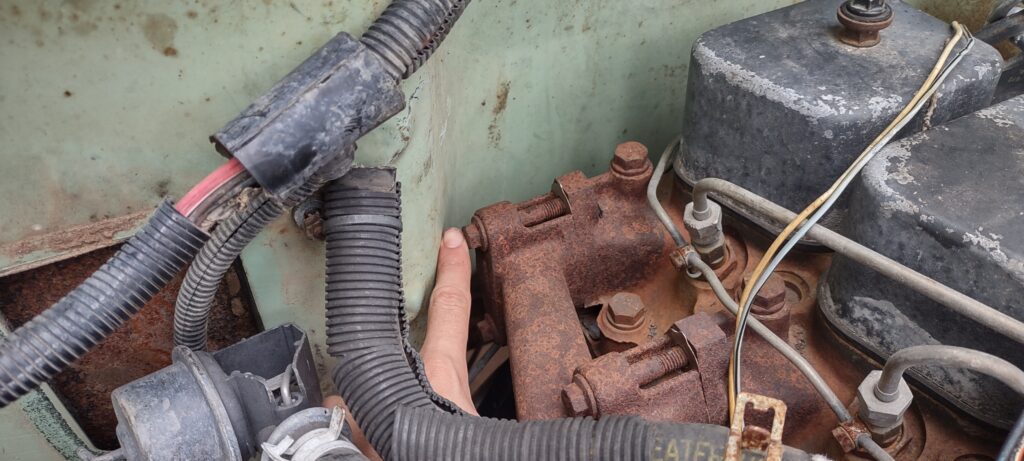
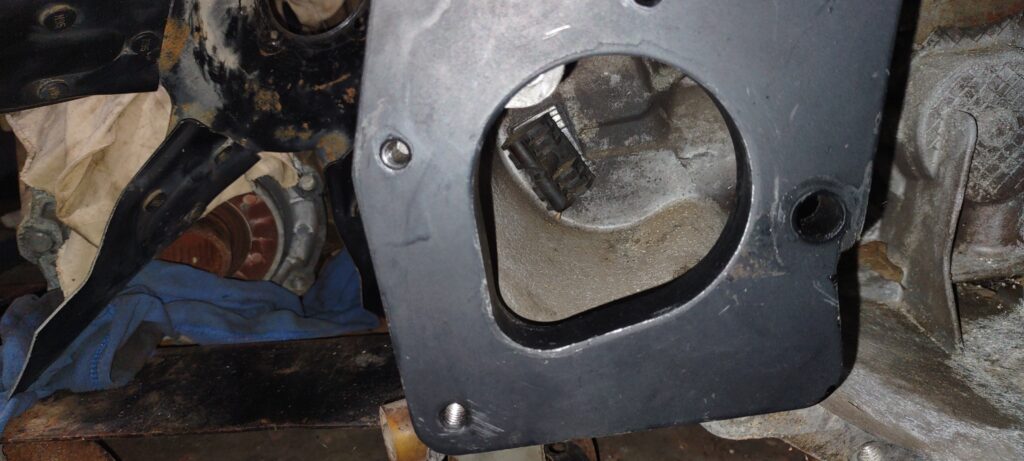
- Major issue: the starter can’t even go into its location because it hits a casting on the bellhousing. There is no mention of trimming bellhousings on the website and had I known that I would have gone an alternate route. If I destroy the core value of the transmission, that’s anywhere between $800-$1500. That is unacceptable. Especially since I might actually need to replace this transmission; the fluid color didn’t give me warm fuzzy feelings
![]()
![]()
![]()
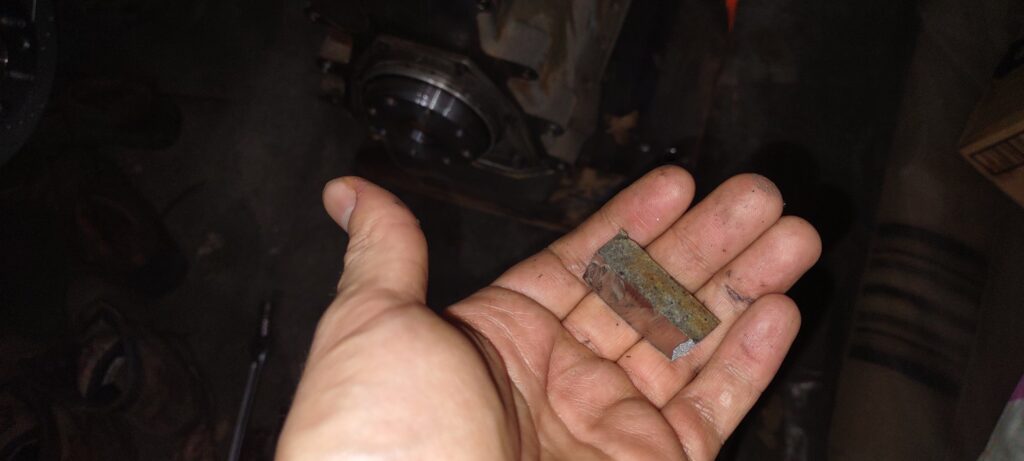
I am hoping that the manufacturer gets to me in a timely manner and that the response is something along the lines of “that is why you need to trim the starter”. When they referenced trimming the starter, they meant the round flange in one area to get it away from the block (thus trimming block and starter flange). This however is the whole front of the starter, and by 1/2″. Unfortunately I am so far out from purchase I am not sure there is any recourse if it came to that. Either way it’s really going to destroy my winter break plans which is extremely frustrating. I did find some other resources that indicate bellhousing trimming is necessary. Aggravating.
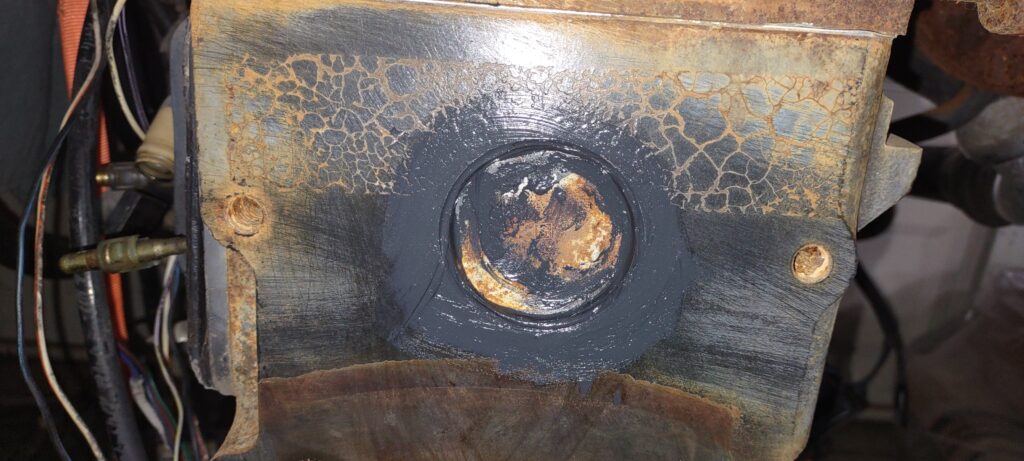
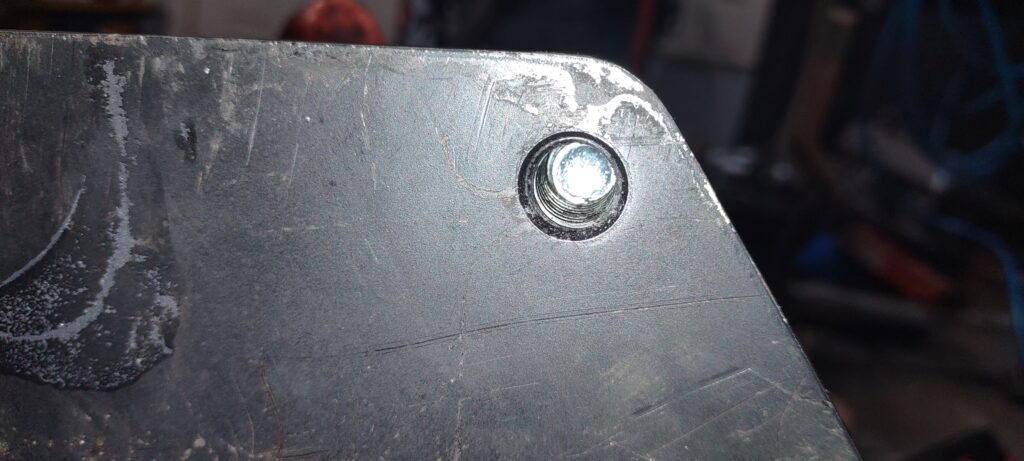
While the adapter was off, I applied some RTV around the freeze plug to prevent any weeping later on. That’s good I guess.